
Wednesday, August 31, 2011
NARS Workshop
Hello Lovelies! Another one of them consumer workshops from one of the leading make-up brands available from Rustan's - NARS. Mark your calendars!
Friday, August 26, 2011
"Day to Night" Photography
I almost can't imagine how someone could spend a minimum of 10 hours taking hundreds of shots of one scene/frame. Such was what photographer Stephen Wikes did for his series "Day to Night", literally showing day-to-night shots of each NYC landmark.
He had to weave in and seamlessly blend about 30 to 50 parts of each scene to showcase how each landmark transforms from day to night.
But with results as remarkable as these, I definitely wouldn't mind doing it at all...


He had to weave in and seamlessly blend about 30 to 50 parts of each scene to showcase how each landmark transforms from day to night.
But with results as remarkable as these, I definitely wouldn't mind doing it at all...
Thursday, August 18, 2011
My Li'l Artist
My 19 month old son, Joaquin Alfonso just discovered the art of doodling, through his yaya who loves to draw. Hence, over the weekend, I got him some washable, non-toxic crayons and a drawing book.
Look at what he came up with....
I really think, that aside from his love of singing and dancing, my boy's also a budding artist, don't you all agree?
Look at what he came up with....
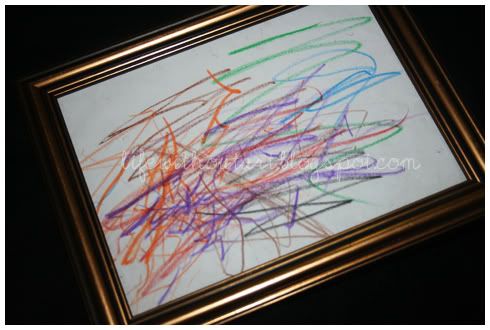 |
| Oh, of course I framed it! Haha |
Wednesday, August 17, 2011
MAC Art of Powder Collection
I love art! As far as I can remember, I have loved art. And just recently, I fell in love with the art of make-up. And as if MAC was teasing me when I found out it was launching the MAC Art of Powder Collection this September 2011.

Description from MAC: " A collection of three MAC Artist Powders inspired by the Masters and modern art movements. There's an op art Optical Bronzer that explores depth, dimension and sheer illusion of bronze. A Street Art eyeshadow personalizes the eye with a madcap act of pure graffiti - an for those who love random acts of light and shade, an In The Abstract Highlighter. These palettes empower creation...make some art!"
*Photos courtesy of Temptalia
Each palette are limited edition and will be sold for US$ 38.00/ CDN$ 46.00. Now I wonder how much they'll be when they launch in Manila...boo!!
Description from MAC: " A collection of three MAC Artist Powders inspired by the Masters and modern art movements. There's an op art Optical Bronzer that explores depth, dimension and sheer illusion of bronze. A Street Art eyeshadow personalizes the eye with a madcap act of pure graffiti - an for those who love random acts of light and shade, an In The Abstract Highlighter. These palettes empower creation...make some art!"
 |
| Optical Bronzer |
 |
| Street Art |
 |
| In The Abstract |
*Photos courtesy of Temptalia
Each palette are limited edition and will be sold for US$ 38.00/ CDN$ 46.00. Now I wonder how much they'll be when they launch in Manila...boo!!
Tuesday, August 16, 2011
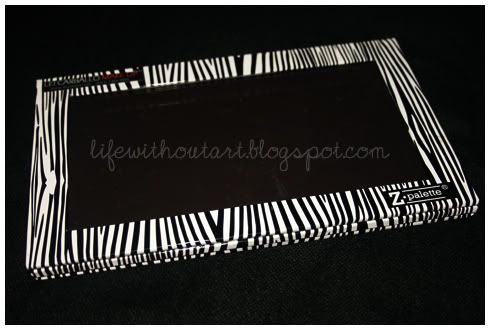
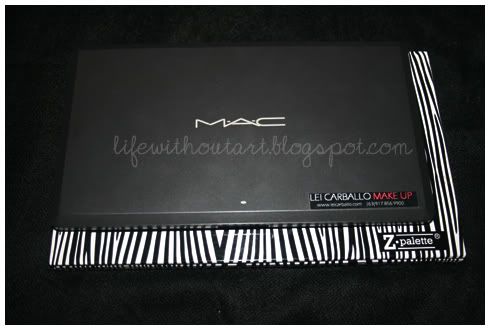
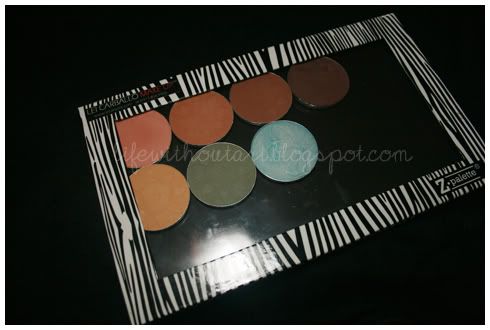
Z Palette
A couple of months back, I was able to find a local seller of the Z-Palette. It was also nice that they had the large zebra print one which I have been lemming for. Since the time I got it, I have long wanted to post a review on this magnetic palette and finally, I found the time to do so...
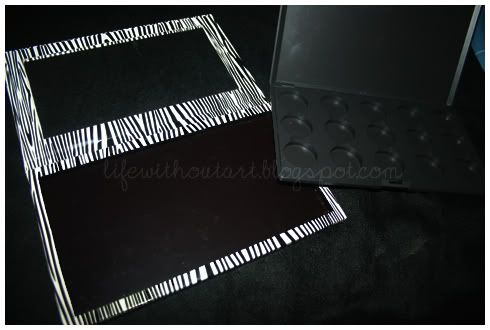
Anyway, what is a Z-Palette you may ask? It is a customizable magnetic palette. It can hold any pan size from any brand. Below are some shots of the Z-Palette I got
So why choose the Z-Palette over the MAC Pro Palette?
Anyway, what is a Z-Palette you may ask? It is a customizable magnetic palette. It can hold any pan size from any brand. Below are some shots of the Z-Palette I got
So why choose the Z-Palette over the MAC Pro Palette?
- It is more spacious. It can actually house 28 MAC eyeshadow pans ( at 7 columns x 4 rows) vs. 15 pans on the MAC Pro Palette (at 5 columns x 3 rows).
- It has a clear cover which allows you to see its contents without having to open the lid. This saves time especially on make-up gigs.
It's magnet attaches to the pans more firmly than on MAC's Pro Palette.
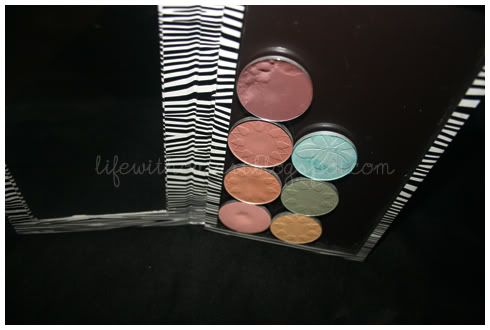
- It comes in various colors and prints (like this cute Zebra print).
However, there are still some things that made me prefer the MAC Pro Palette than the Z-Palette
- The Z-Palette is much much heavier than the MAC Pro Palette. I could already imagine the additional weight this would bring into my traincase if I would use this instead of MAC's Pro Palette.
- I prefer having dividers in between each make-up pan, especially for pressed powders/shadows as having them lined next to each other would be quite messy.
- It is made of laminated cardboard so you cannot really keep it anywhere near liquids.
- It is a little more expensive than the MAC Pro Palette.
Monday, August 15, 2011
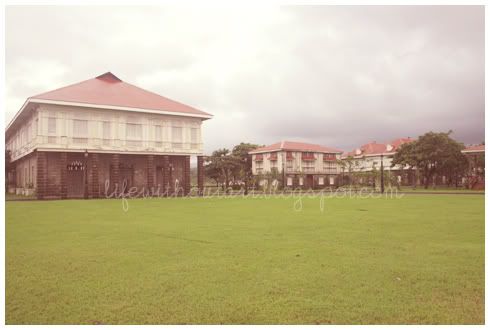
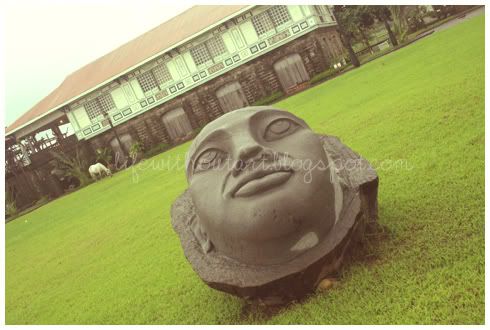
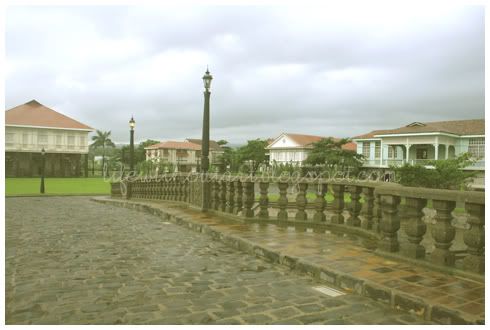
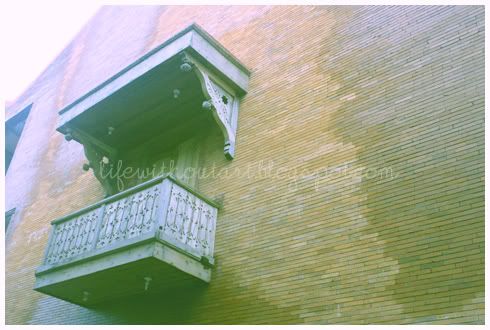
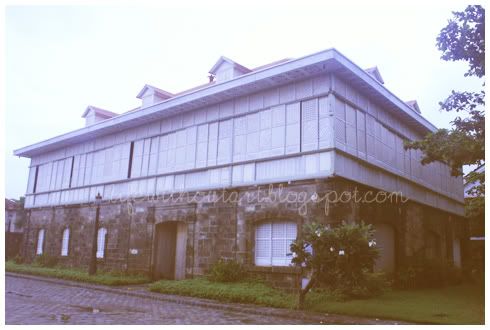
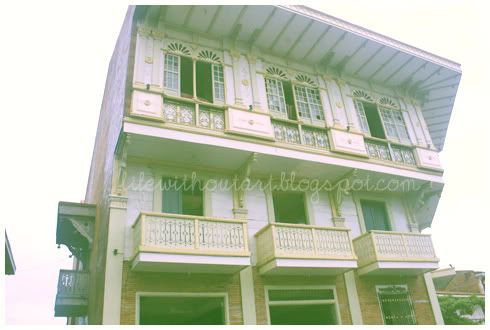
Las Casas Filipinas de Acuzar
One of my recent make-up gigs brought me to Bagac, Bataan, at a "heritage resort" called Las Casas Filipinas de Acuzar. It was unlike any other resort I've been to so far since the highlight of this massive, (talk about 400 hectares of land), and I mean massive space are the reconstructed Philippine architectural masterpieces from the 18th to the 20th century. Each of this architectural structures (from mansions to buildings) were brought from all over the country and rebuilt, plank by plank within the estate. In essence it looked like a large and well maintained Calle Crisologo of Vigan, Ilocos Sur, with cobblestones and all.
As it was actually raining throughout most of our trip, and since I was not there for leisure, I only managed to take a few shots of the place.
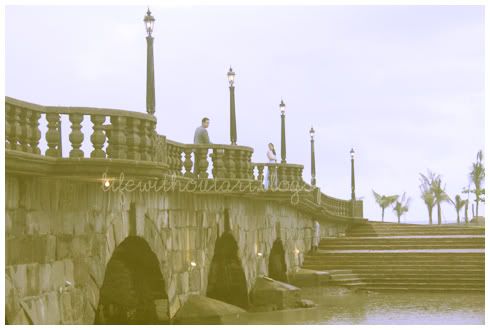 If you want to get out of the hustle and bustle of the city and be transported back into time, then Las Casas Filipinas Acuzar will be a perfect place for you. They also have accommodations for as low as Php 3,800++ per room good for 2 adults + 2 kids. It might be worth the 3-hour trip especially if you dig the vintage feel.
For more information about Las Casas Filipinas de Acuzar, visit their website.
As it was actually raining throughout most of our trip, and since I was not there for leisure, I only managed to take a few shots of the place.
For more information about Las Casas Filipinas de Acuzar, visit their website.
Sunday, August 14, 2011
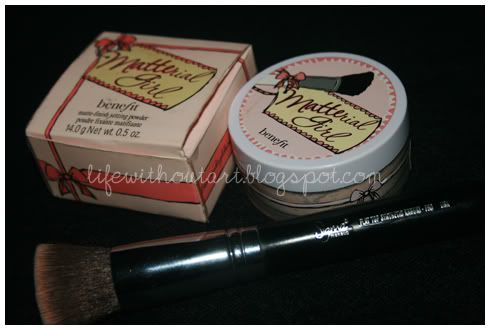
Benefit Matterial Girl Finishing Powder
I was searching for a mattifying setting powder for quite sometime. Lurking on ebay paid off as I stumbled upon a seller that had Benefit's Matterial Girl which I was able to buy for less than Php 800.
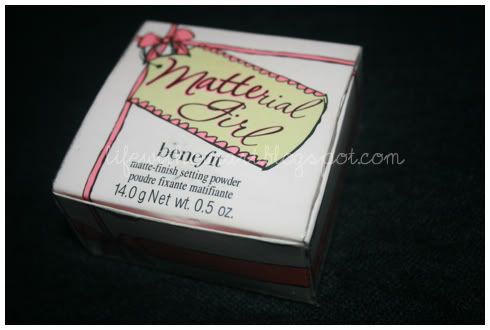
I haven't really tried anything from Benefit cosmetics before so this was the perfect chance for me to get to know the brand. As usual, prior to purchasing the product, I Googled for reviews about it and everything I saw online gave me the green signal. So I didn't really feel any hesitation when I placed my bid for this product on eBay.
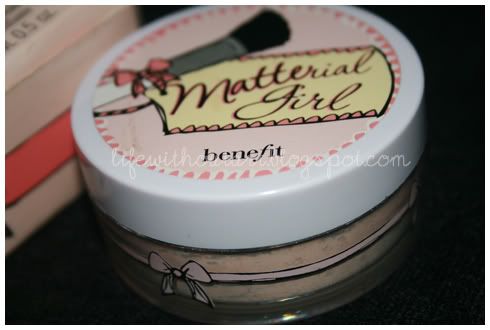
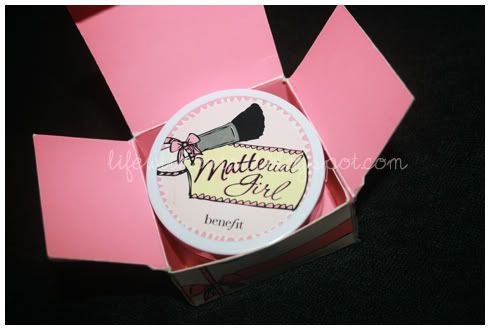

Anyway, below's a summary of Benefit Matterial Girl's Pros & Cons, at least after about a month of using it on me and on clients.
PROs:
I haven't really tried anything from Benefit cosmetics before so this was the perfect chance for me to get to know the brand. As usual, prior to purchasing the product, I Googled for reviews about it and everything I saw online gave me the green signal. So I didn't really feel any hesitation when I placed my bid for this product on eBay.
Anyway, below's a summary of Benefit Matterial Girl's Pros & Cons, at least after about a month of using it on me and on clients.
PROs:
- Must love the packaging! I totally dig pink girly packaging. I know I'm the "all-black" type of person, but this powder really stands out inside my train case filled mostly with cosmetics in black packaging.
 |
| See how it stands out inside the traincase? |
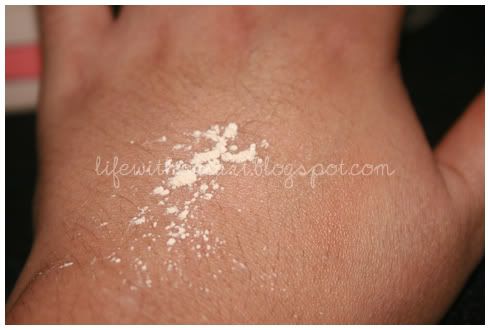
- The powder was silky and applies flawlessly. Just be careful on the amount of product you use as if used in exCess it shows a white cast on photos. But if blended thoroughly (I love using SIGMA's F80 brush for buffing this out), it evens out the face.
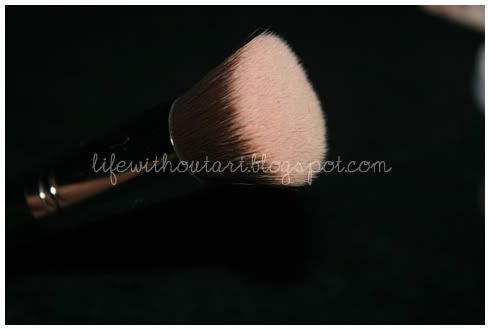 |
| Sigma F80 Flat Top Synthetic Brush |
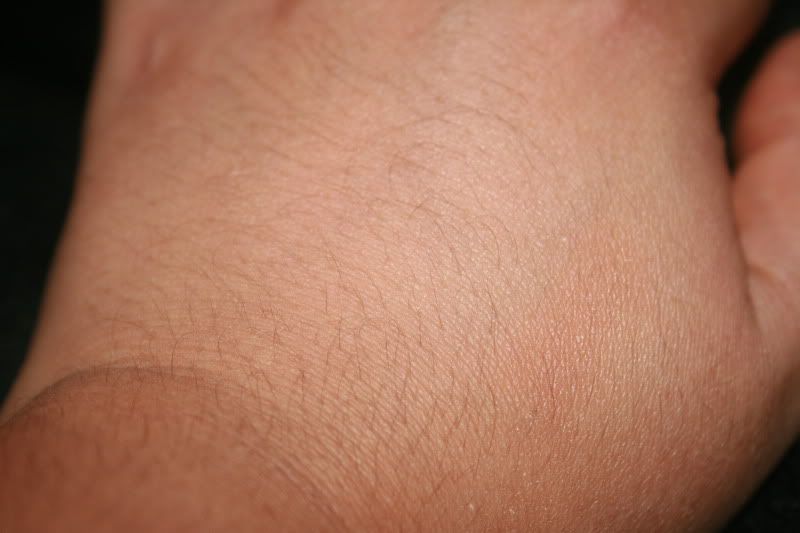 |
| Perfectly even and invisible after blending |
- Best of all, it mattifies the skin for quite a long time
- Well, the only thing I could think about is its being unavailable locally...Boo!
Saturday, August 13, 2011
Muji Large Make-Up Bag
While juggling my regular work as a media person and as a freelance Make-up Artist, I always feel the need to have a load of my make-up and tools with me all the time. This is so I'll be ready just in case I would need to do a make-up gig on weekdays. I used to carry everything on a canvas Caboodles cosmetic shoulder bag which was able to carry everything I need from brushes to palettes, foundations, pencils, compacts, etc. But it was such a huge pain in my arm and back having to carry it around since it was just a shoulder/hand bag. Hence, I hunted down a lightweight cosmetic bag with a strap and can be carried across my body. And look at what I found the other night at Muji in Bonifacio High Street...
 Looks pretty amazing right? It's also quite spacious at 12" x 7.5" x 7.5" (approx.) and very lightweight too. They are selling this bag for Php 1,850 and I think it is made of nylon.
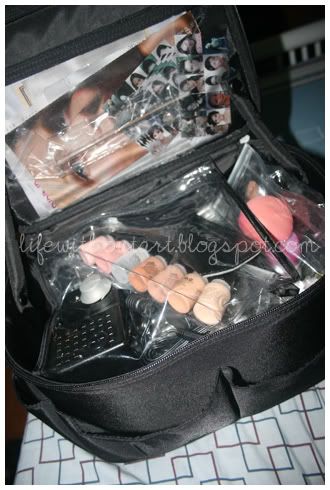
Here are photos of the empty bag.
 See how many interior compartments it has?

The only lowdown is that I do not have space for my brushroll anymore. It was either I stuff the airbrush kit or or the brush roll. As such, the brushroll went inside my normal "work bag". Also, the mini brush pouch it came with was darn useless for me as it only had about 5 slots for brushes and was actually too short for my MAC face brushes so I just tossed it out. :)
But all in all, I'm happy with this make-up bag. Despite the amount of make-up and tools I stuffed inside it, it was still not as heavy as I expected it to be which was just great for an everyday beauty arsenal!

Here are photos of the empty bag.
And below are pics of how I stuffed my make-up and tools inside...
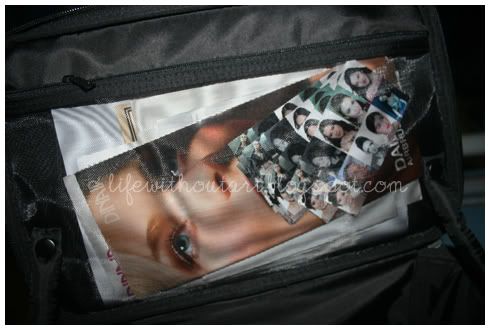 | |
| Contracts, brochures, manuals and business cards on the inside pocket of the cover |
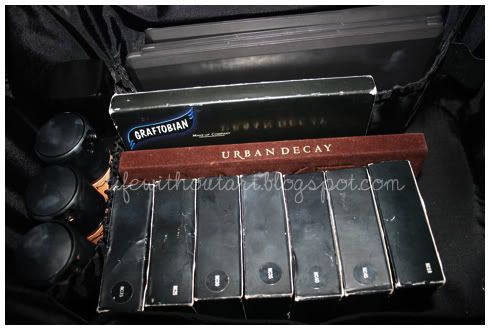 |
| Liquid foundations and -primer on one side, palettes and compacts in the middle |
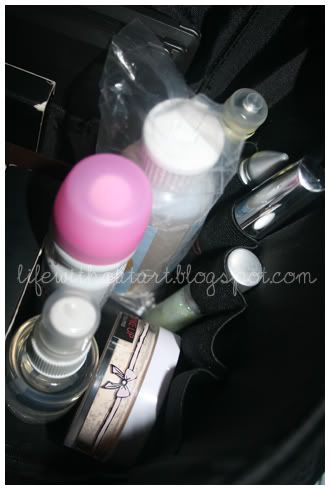 |
| Cleaners, sprays, setting powders, primers, mascaras on the other side |
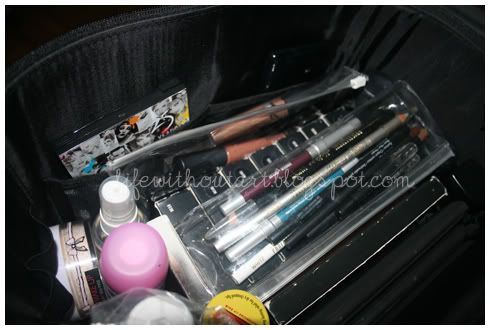 |
| and some more palettes, pencils, browsets, brow powders, lip balm, etc. |
 |
| It could even fit my airbrush kit on top |
But all in all, I'm happy with this make-up bag. Despite the amount of make-up and tools I stuffed inside it, it was still not as heavy as I expected it to be which was just great for an everyday beauty arsenal!
Friday, August 12, 2011
Suesh Airbrush Workshop
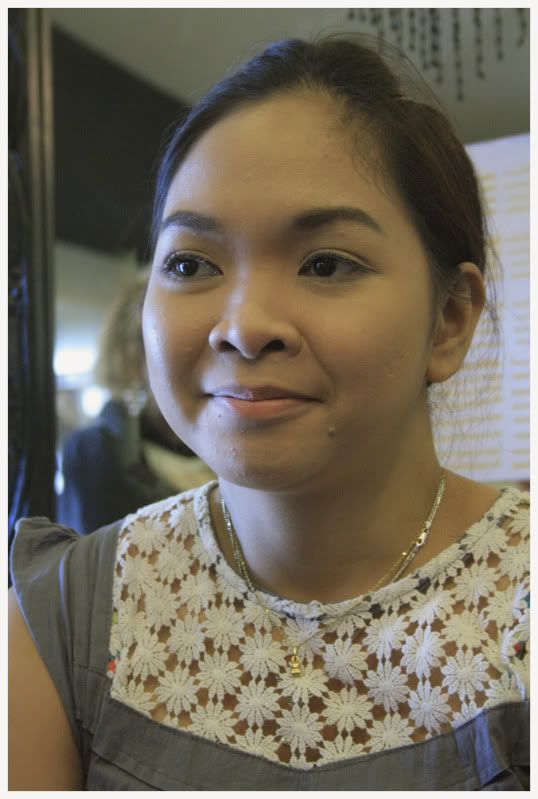
Last July 16, I attended a 1-day Airbrush workshop conducted by Dara Plan at Suesh's Showroom and Studio at Wilson, Greenhills, San Juan. I initially thought that it was just a half-day workshop but according to Sheryl of Suesh, they extended it by starting at 10 AM instead of the usual 1PM so the participants can actually do more of the hands-on exercises and avoid having to extend until 8 or 9PM in the evening.
 The workshop was very helpful especially for people like me who have never actually done airbrush make-up before. Dara went through the history, uses, parts and other trivia about the airbrush system before going into the basics of how to use it. What's nice about this workshop was that Suesh provided the compressors, guns and make-up that we would need care of Glambox. This was a big plus especially for me, who wanted to try out aibrushing first before getting myself a kit. It was also a great advantage for all of us since other workshops would require you to bring your own system. The Glambox system is a lot similar to Dinair's personal pro system. Both the guns they use were single action and much easier to handle than the dual-action gun especially for beginners. Both their compressors were also lightweight. The only difference is that Glambox's make-up is silicone-based while Dinair's is water-based.
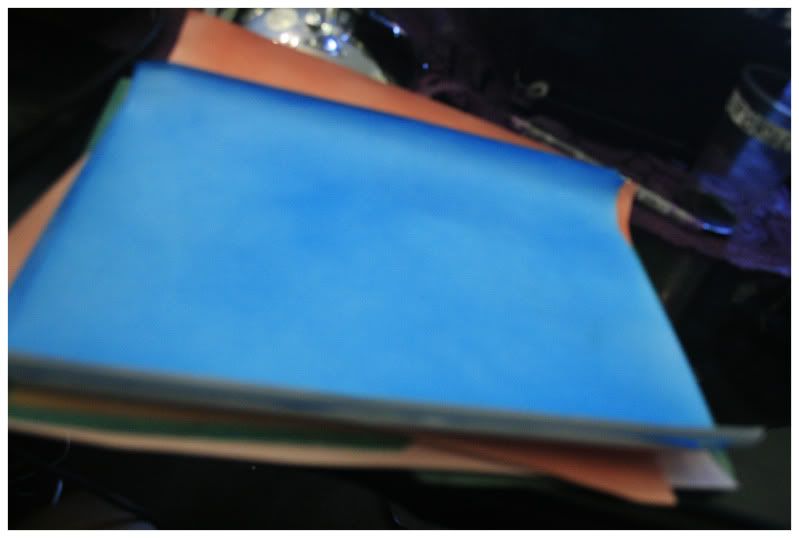
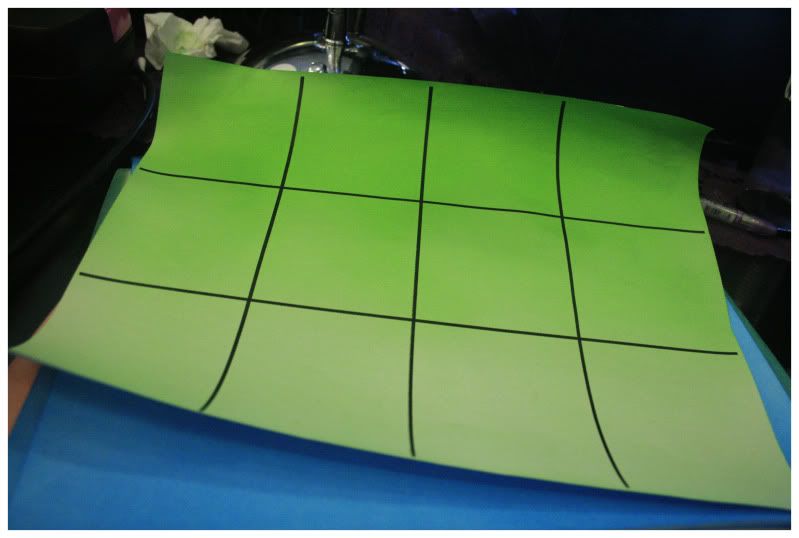
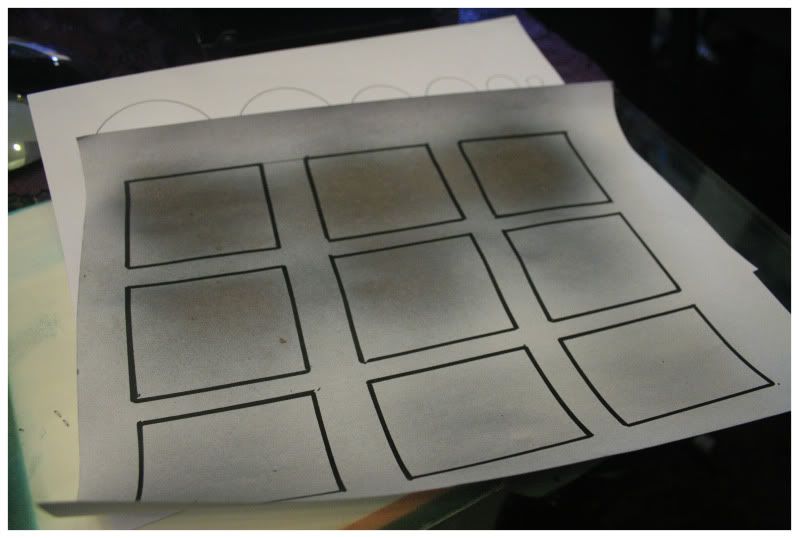
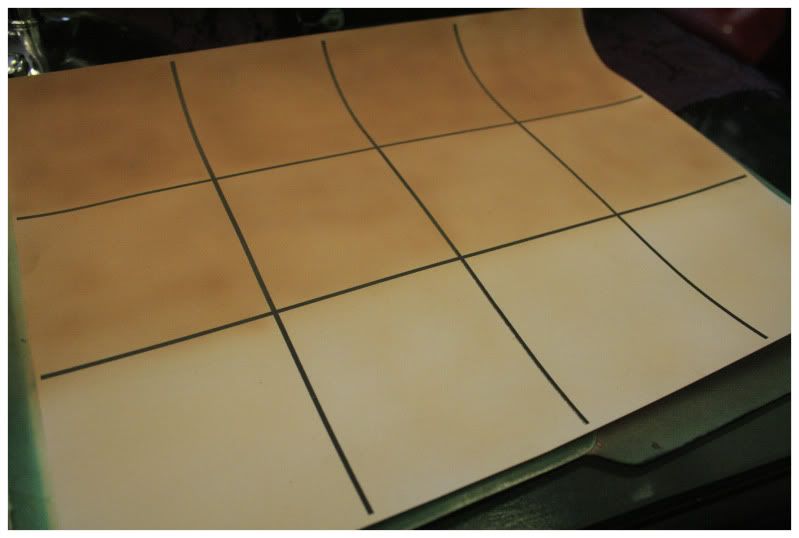
Anyway, the workshop reminded me so much of Art Class. I totally had a blast spraying "colored-water" on paper either on grids, lines or circles.


Dara also did a demo during class. The airbrush make-up she applied was hardly noticeable. You'll just see that the model's skin seemed flawless after the airbrush application which was great!

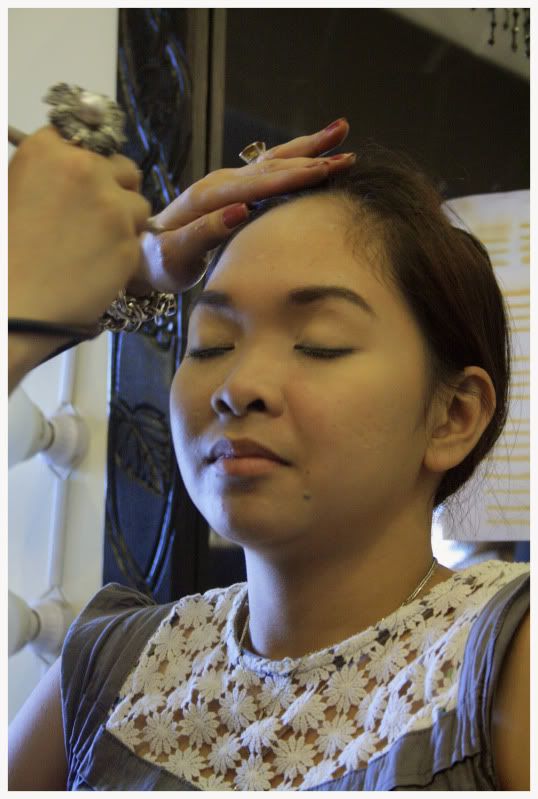
But the best part was actually having to put on the airbrush make-up on our own faces. It was really very difficult at first as I cannot clearly see the results, or maybe it was because I didn't know what to expect. Anyway, the make-up really did feel light on the skin. I actually tried to keep it on for a few hours just to test its lasting powers. It did last alright but it started to feel a little sticky after about three hours. I think it would've been better if we tried to set it with powder just to make it matte for a longer period of time. Honestly, prior to this workshop, I was so sure of buying the Temptu Pro Airbrush kit and was actually saving up for it. But since Temptu is also silicone based, and thus might also feel a little sticky after some time, it made me reconsider and think about getting maybe the Dinair kit instead.

Overall, I think the Php 3,000 they charged us for the workshop was reasonable. I learned a lot from the practice sheets and the demo that Dara did but I think it all boils down to practicing on your own. Just like doing traditional make-up, you really have to practice, practice and practice in order to get the results you want.
Anyway, the workshop reminded me so much of Art Class. I totally had a blast spraying "colored-water" on paper either on grids, lines or circles.
Dara also did a demo during class. The airbrush make-up she applied was hardly noticeable. You'll just see that the model's skin seemed flawless after the airbrush application which was great!
But the best part was actually having to put on the airbrush make-up on our own faces. It was really very difficult at first as I cannot clearly see the results, or maybe it was because I didn't know what to expect. Anyway, the make-up really did feel light on the skin. I actually tried to keep it on for a few hours just to test its lasting powers. It did last alright but it started to feel a little sticky after about three hours. I think it would've been better if we tried to set it with powder just to make it matte for a longer period of time. Honestly, prior to this workshop, I was so sure of buying the Temptu Pro Airbrush kit and was actually saving up for it. But since Temptu is also silicone based, and thus might also feel a little sticky after some time, it made me reconsider and think about getting maybe the Dinair kit instead.
Overall, I think the Php 3,000 they charged us for the workshop was reasonable. I learned a lot from the practice sheets and the demo that Dara did but I think it all boils down to practicing on your own. Just like doing traditional make-up, you really have to practice, practice and practice in order to get the results you want.
Subscribe to:
Posts (Atom)